Metal pads for magnet thermal mats
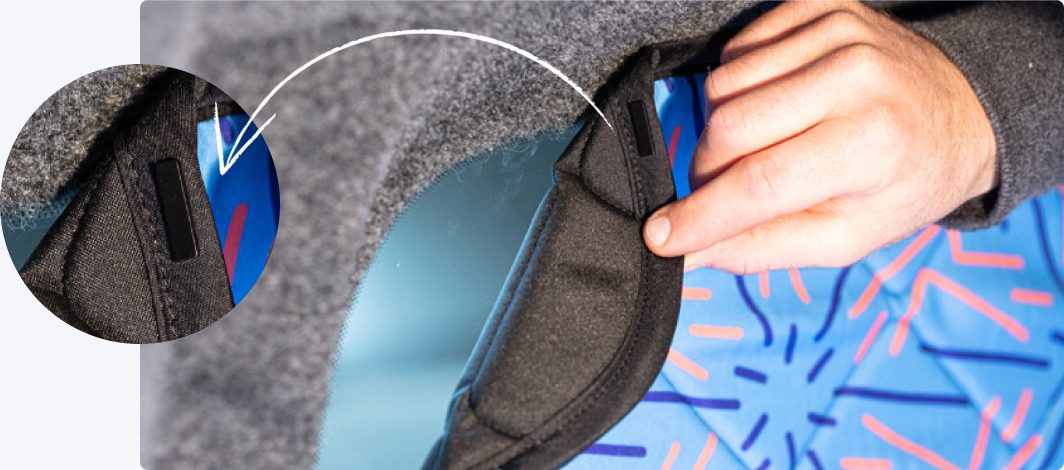
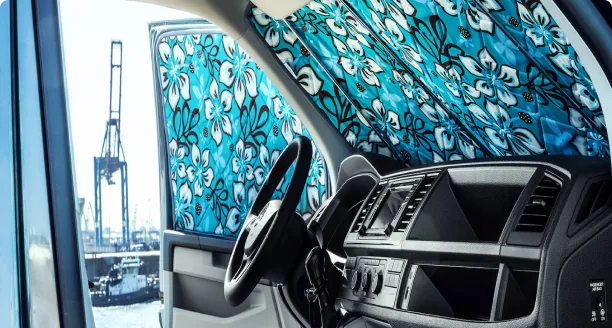
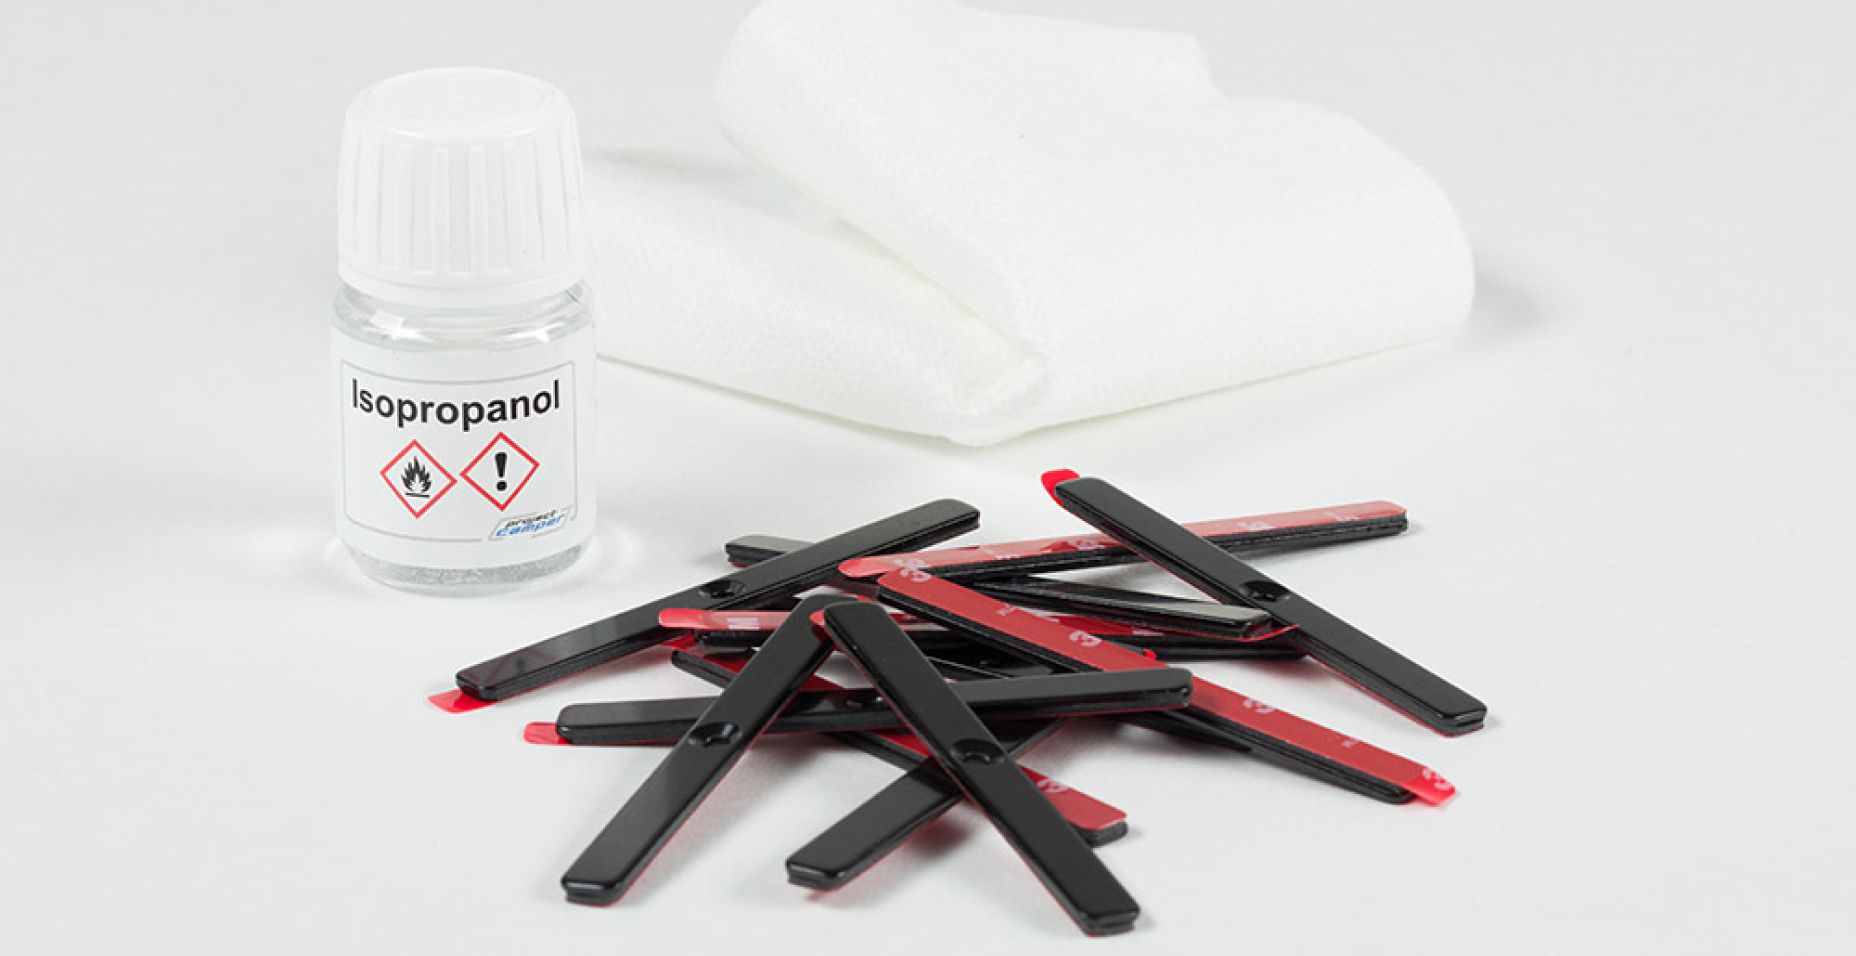
Metal pads serve as attachment points for magnet thermal mats. They are stuck on wherever the vehicle bodywork is covered by interior trim.
Attaching the metal pads requires no permanent modifications. There is no need to drill holes or remove any trim.
Important information first:

Adhesive surfaces for metal pads must be flat, undamaged, clean, dry and free of dust, grease and solvents. Do not stick metal pads onto window tint film or heating wires! Both can be damaged when the metal pads are removed.

Metal pads can be colour-matched to the vehicle interior: for this we offer custom-cut colour stripes that are stuck onto the metal pads. This is best done before fitting the metal pads.
Step-by-step instructions for campers without felt
-
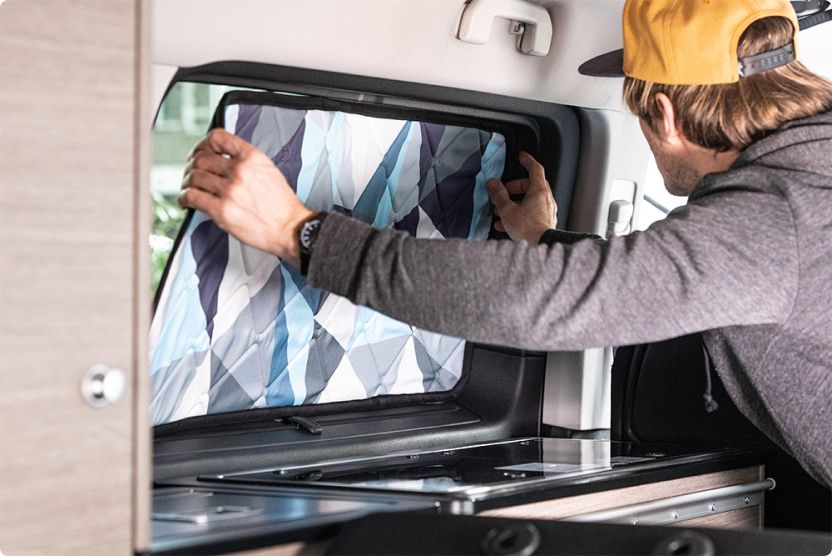
Step 1: Mark the positions
Hold the magnet thermal mat precisely in place (the end of the edging tape is always at the bottom). Mark the positions of the magnets with marking dots.
Optional: colour-match the metal pads.
-
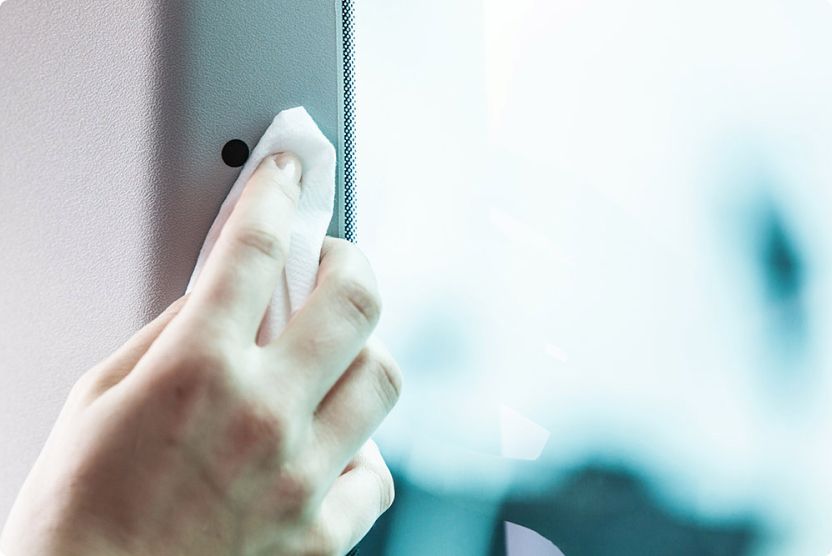
Step 2: Clean the adhesive surfaces
Safety data sheet for isopropanol cleaner download here as a PDF
Thoroughly clean the marked adhesive surfaces with isopropanol and allow them to dry completely. Suitable adhesive surfaces for metal pads are plastic or non-magnetic metal surfaces (e.g. aluminium) and window glass. Textile or rubberised surfaces (e.g. window seals) are not suitable.
-
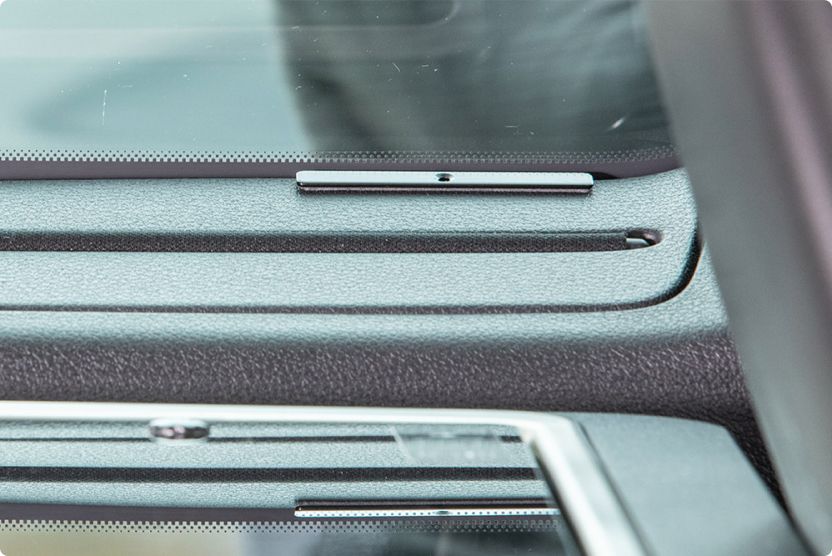
Step 3: Stick on the metal pads
Remove the protective film from the metal pad and stick it onto the marked, cleaned spot. Press firmly for 10 seconds to activate the adhesive. Metal pads reach their full adhesive strength after 72 hours (at room temperature). They must not be put under load before then.
-
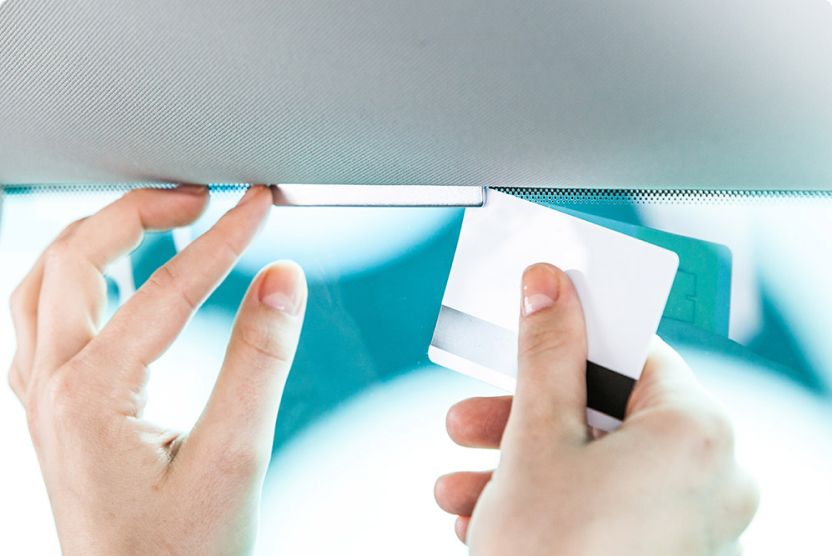
Removing the metal pads
An old plastic card is ideal for removing the metal pads: it lets you remove the VHB™ adhesive tape from the surface without leaving any residue.
Step-by-step instructions for felt-lined campers
There are two ways to fit the additional magnets:
A | Fitting magnets under the felt
If the felt has not yet been glued in place: the additional magnets are positioned where the magnets in the thermal mat meet the body panel. To do this, fit the magnet thermal mat in the window and note the positions, marking them if necessary. Once the additional magnets are in place, i.e. holding onto the body panel, the felt can be laid over them and glued down.
-
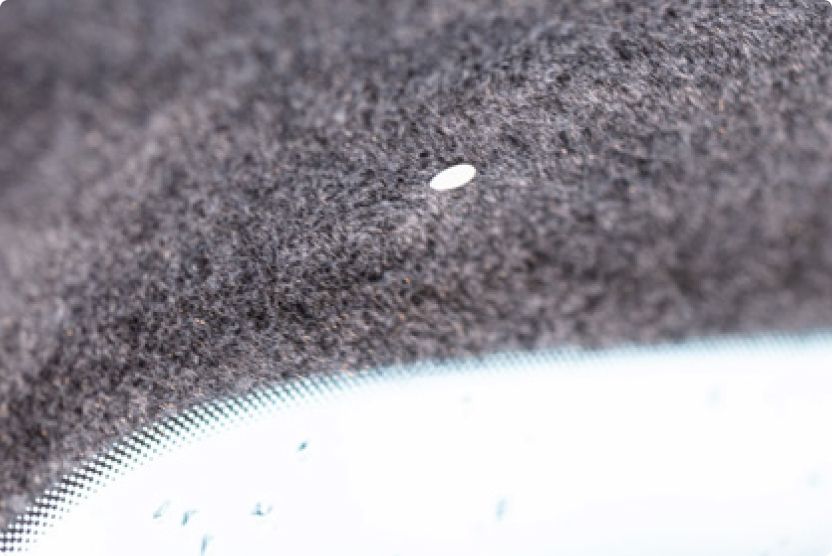
Step 1: Mark the positions
Mark the positions of the magnets.
-
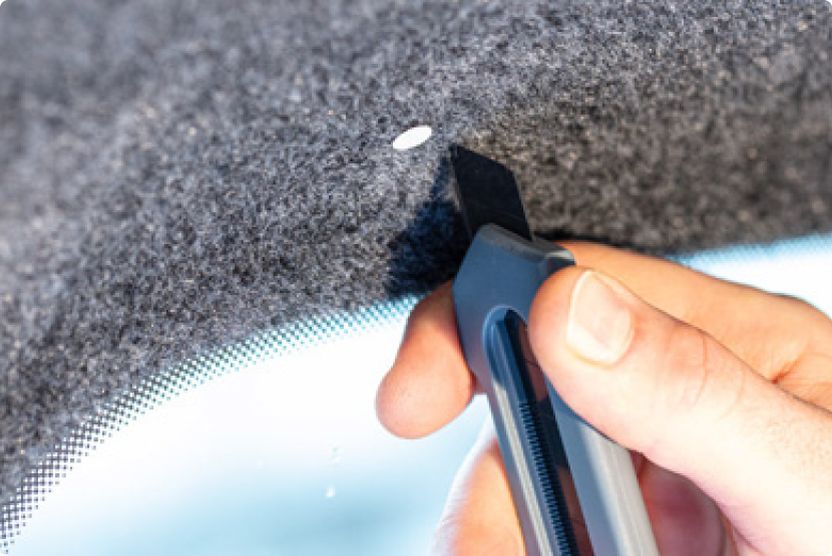
Step 2: Make a cut with a utility knife
Using a utility knife, carefully make a small cut at the marked spots, roughly the width of the magnet (taking care not to damage the paintwork of the panel).
-
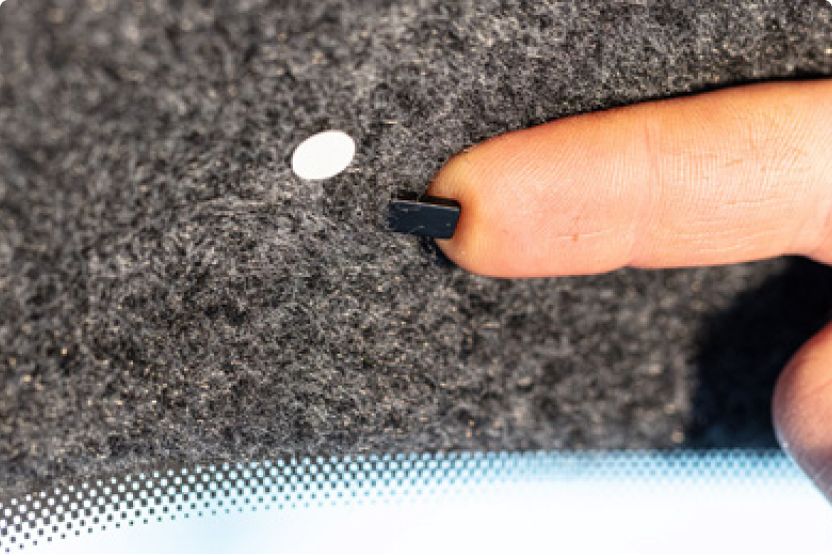
Step 3: Insert the magnet
Gently lift the glued felt away from the bodywork, for example with a small flat-head screwdriver, to create a pocket. Insert the magnet into the slit and close the opening again.
-
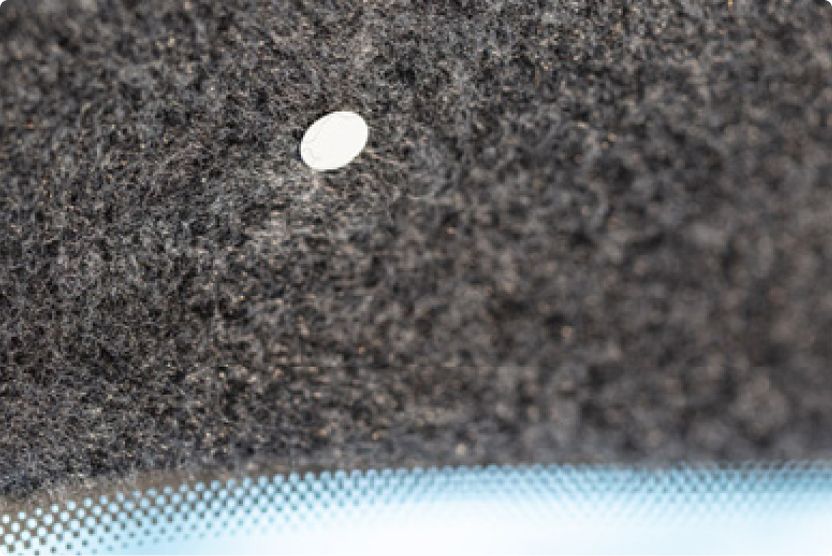
Step 4: Glue the felt back down
Optionally glue it back down with a suitable adhesive. The magnets are now under the felt and reliably boost the hold of the magnets in the thermal mat.
B | Attaching magnets to the thermal mat
Place the additional magnets onto the magnets of the thermal mat. The magnet thermal mat is now ready for use and, thanks to the magnetic reinforcement, holds to the vehicle through the felt.
We recommend removing the additional magnets each time you take down the magnet thermal mats and storing them carefully. This prevents the thermal mats from sticking to each other when folded.
Magnets attach directly to the thermal mat and boost its hold.